Menu categories help you organize menu items for easy ringing or online ordering navigation.
Some essential information should be considered before creating a new menu category. Category details such as name, description, and menu items are crucial, but NX Restaurant offers additional category features to enhance the view of the menu.
Further customizations to consider include the placement of the category (such as where it appears at the Point of Sale or online ordering), customization of the category button color, and the inclusion of images. Customizing your menu categories gives you control of tailoring the menu's branding to your business identity.
NOTE: Before creating new menu categories, all of the following permissions must be enabled on your NX Restaurant portal account:
-
Menu Category: View
-
Menu Category: Update
-
Menu Category: Create
To create a new menu category
- Log into the NX Restaurant portal.
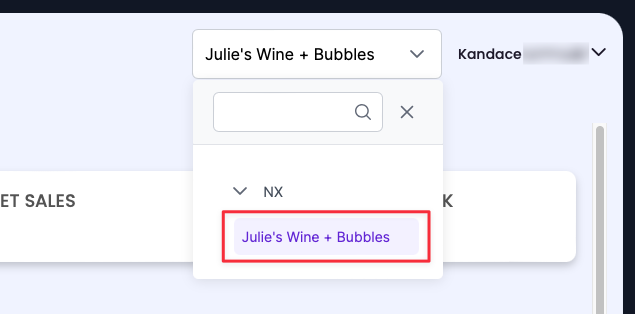
- Select the location from the restaurant drop-down menu.
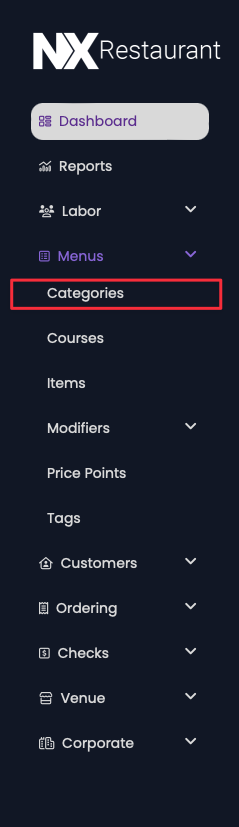
- From the left sidebar navigation, click Menus > Categories.
- Click Add.
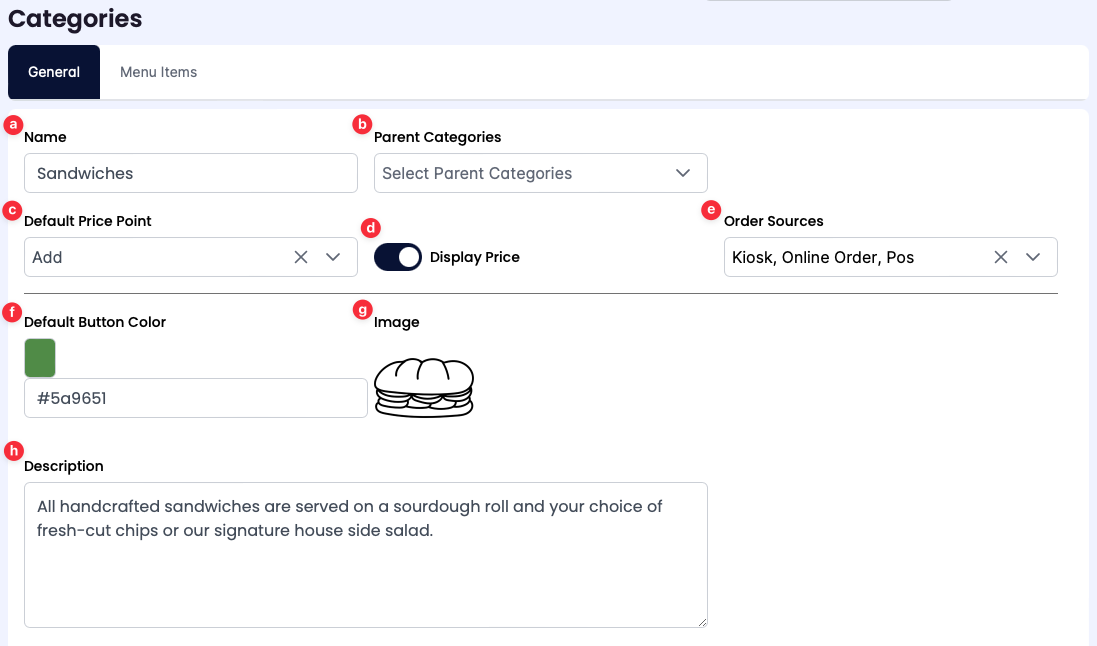
- Complete the new Menu Category fields by filling in one or more of the following:
-
-
Name: Type a title for the Menu Category.
-
Parent Categories: Use the drop-down menu to select parent categories, if applicable.
The parent category must be added to the NX Restaurant portal before assigning to the new menu category.
|
|
|
Note: Menu category customizations and configurations are not required to complete the guide.
|
-
Default Price Point: Use the drop-down menu to select a previously configured Default Price Point. Setting the Default Price Point assigns the price point to all items in the category. For more information, refer to Configuring Price Points.
Note: Menu Items without a Default Price Point are priced using the item’s pricing priority. For more information, refer to Pricing Priority Order.
-
Display Price: Click the slider to display or hide the default price point on the new Menu Category. By default, the slider is deselected to hide the default price point.
-
Order Sources: Use the drop-down menu to select the platforms in which the Menu Category appears.
-
Default Button Color: Type the color’s hex code or click the color box to select a color for the new Menu Category button.
-
Image: Click the Image + box to select a custom image to associate with the new Menu Category. The image added in this field appears on both the Point of Sale and online ordering menus.
-
Description: In the textbox, type a description of the new Menu Category.
|
- Click Save to create the new menu category.